Go to the Recipe: Chicken Fat Dinner Rolls
My favorite bread recipe ever.
Well done! Those rolls look fantastic.
For making these ahead, we recommend shaping, proofing slightly (for say, 30-40 minutes), and refrigerating the pan covered before baking in Step 9. Depending on your fridge temperature, proofing may continue albeit at a much slower rate. More than anything, the cold proof develops flavor, since you're allowing more time for enzymatic activity (amylases breaking down starch, proteases breaking down protein into amino acids). More sugars and amino acids available means potentially better browning, and a nuttier/maltier, more complex flavor. But there is a tradeoff in texture: Over a long period of time, gluten degrades a little during a cold proof (because of protease activity), so you might experience a little less bouncy chew in the baked bread.
Good luck!
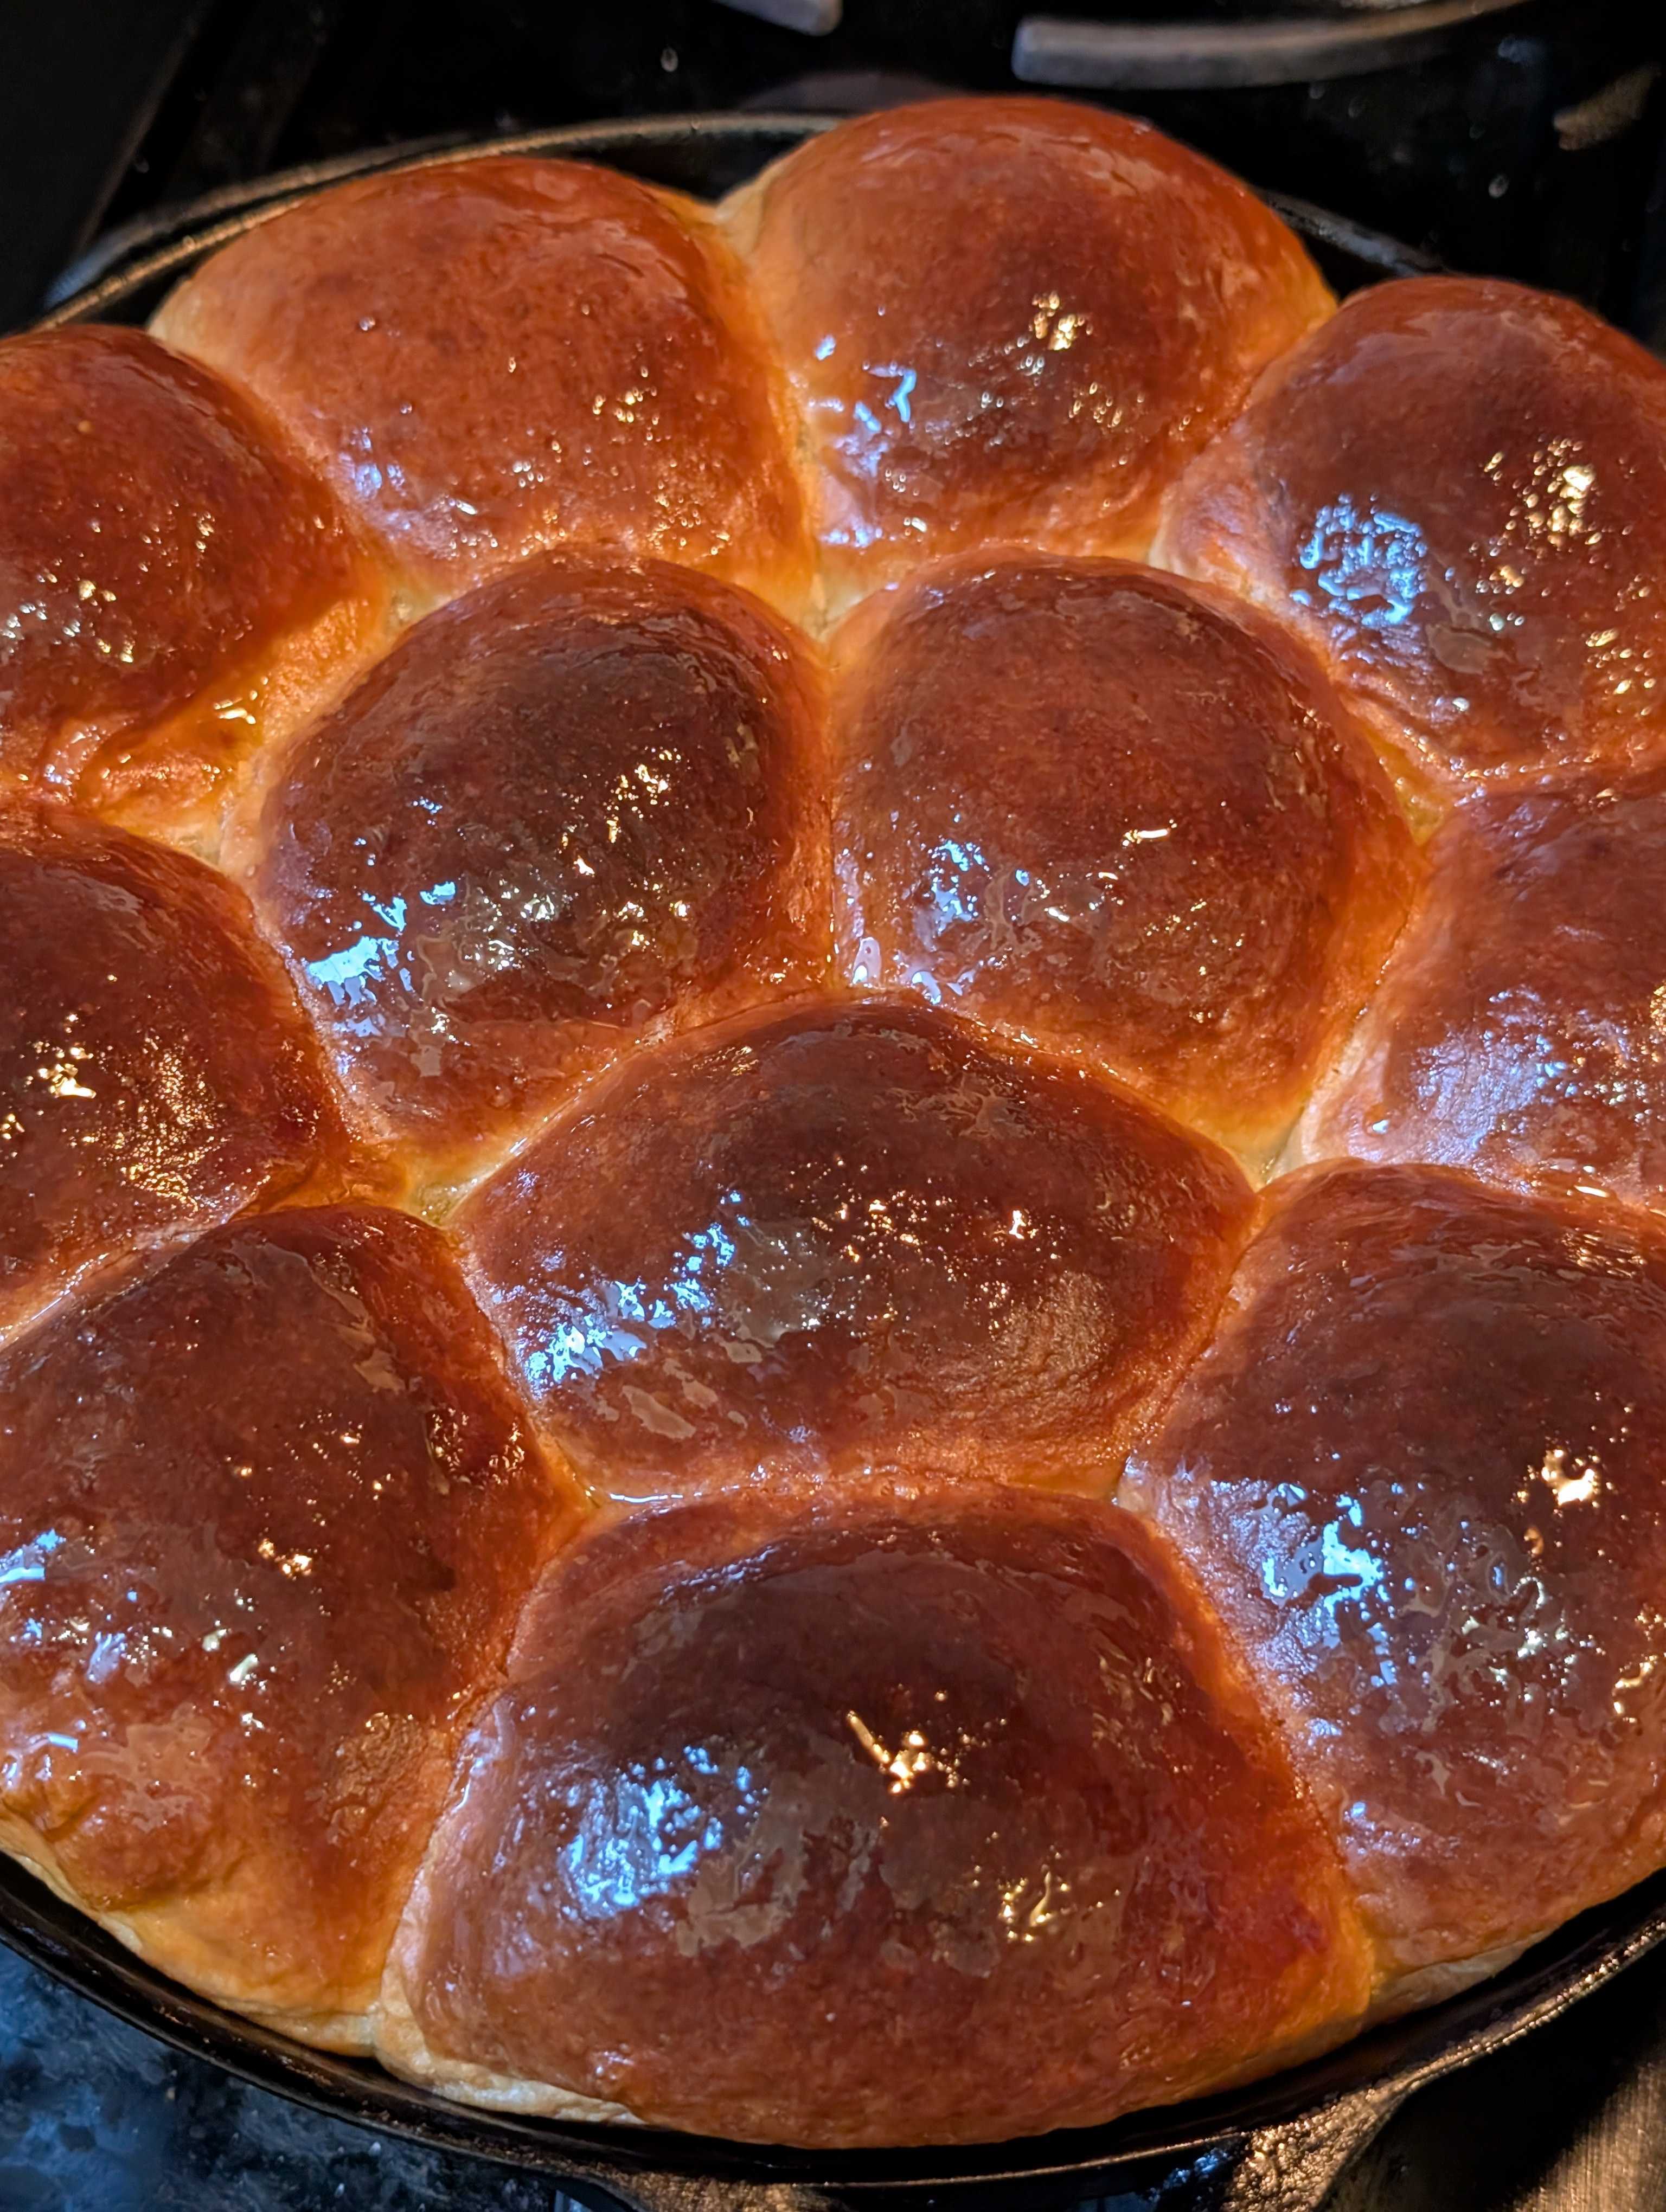
I made these yesterday using duck fat as I always have some in my refrigerator. I prepared them the night before through step 8 with a 30-minute proof as noted in the make ahead section and refrigerated them for around 22 hours. The make ahead directions did not state whether to allow them to warm to room temp before egg wash and bake but I did bring them out while the oven preheated for around 35 minutes. There was no noticeable change in appearance during that time. As there were only two of us, I halved the recipe and ended up with 369 grams of dough. Using my 8-inch cast iron pan I made 6 rolls of approximately 61 grams each. I had no issues with incorporating the fat or reaching the windowpane test. The rolls were soft and, for lack of a better word, pillowy. We loved them. I'm attaching photos showing them out of the oven then a side view showing the texture. Thanks again for another recipe with easy-to-follow steps.
If you plan to make it in advance the day before, would you recommend to put in the fridge after the first fermentation? Thanks
Thanks Tim. Butter it is.
Made these today and was blown away! The texture is like a marshmallow and you don’t even need butter to serve because they’re so rich. It took an extra minute or so in the microwave to make the tangzhong, but I will be using this microwave method for other breads that ask for it. Makes it so easy.
When I was mixing the dough I was worried that it wasn’t going to come together because it really is so much fat, but with a few extra minutes it passed the windowpane test. I ended up using my square USA pan to bake these so I did 9 rolls at 80g each. I didn’t need to change the bake time for these at this size. This will be my go to roll recipe from now on!
Thanks Tim for the detailed explanation and the science behind it. Much appreciated!
Definitly going to run this one. The Chicken Powder throws me off and wondering why the specific brand is your recommendation. It transfers to chicken soup base with the url you post. When I look at the manufacutrer site that have staight up chicken powder of various styles specific to Chinese cooking. I'm thinking I could use the bouliion I already paste I already have. It shouldn't affect the hydratioon at alll IMHO.
Thank you Sho! This helps me out...
I would stick with softened butter in this case. That small bit of water actually helps to maintain an emulsified, non-greasy dough (and it keeps the dough temperature lower). Saturated fats like chicken fat are pretty fickle ingredients for emulsions, so subbing pure butter back into the mix will only help you.
Hi Chuck,
I haven't tested into making this in a food processor. While the dough-fat incorporation step may be streamlined in a food processor, this recipe really hinges on maximally developing gluten through mechanical kneading. In food processor breads, we often rely on time to develop gluten. All else equal, I often find the rise in a food processor bread to be 5 to 10% lower than the same bread kneaded in a stand mixer (this is highly dependent on hydration, fat percentage, fermentation time, and intended style of bread). That lower rise suggests that the food processor doesn't develop gluten as efficiently as an extended kneading time (which is a key feature of this recipe).
The high amount of fat in this dough tends to inhibit gluten development. We overcome that with extensive kneading, giving us a fluffy, chewy texture that isn't greasy on the hands or palate. If using a food processor, I would expect the dough to be a little more slack and harder to shape, and the resulting baked rolls to be less fluffy, less tall, and a bit greasier. But that's just my educated guess. I'd be curious about the results if you do opt for a food processor.
Hope this helps!
Hey m,
Not my recipe, but I got my hands on an early version of the recipe well before publication and stuck some of the dough in a pullman loaf pan using a shokupan-ish shaping method—it worked out great. I think the dough yield (~720 g) is a little too much for a pullman, however, and the proofing and bake times may vary considerably. You'd have to use your best judgment on both.
If you are replacing the chicken fat with butter for the vegetarian version, would it best to use clarified butter/ghee in place of standard butter as it has less water content?
Love the rolls but am curious if this could be adapted work in a Pullman loaf pan for a sandwich bread? Would the main challenge be baking time, or would the core recipe here not make a good base to hold sandwich fixings like a BLT or maybe a Coronation Chicken Salad?
I excited to try this! What are your thoughts of mixing the dough in a food processor instead of a stand mixer? I’ve found that for recipes containing less than 500 g flour, you can mix it up in about a minute.